Wednesday, December 21, 2011

Pepper Pomegranate Preserves...how can you resist...one last gift...


Well, alright, so a last minute invitation to a Christmas party won out over canning last night…but the good news is I was able to get things together tonight and as my husband prepared some vegetables for our dinner I canned up some Pepper Pomegranate Preserves!  I did prepare the pomegranate seeds during my lunch break today, but otherwise this is a seriously quick and easy recipe.  A definite crowd pleaser with it’s smoky (Santa Fe Chiles) and sweet (pomegranate and sugar) flavors.  It’s great with toast, duh, or cheese and crackers, or with pork or chicken and it’s very pretty to boot.  At the very least it’s a nice stocking stuffer…

Pepper Pomegranate Preserves
Make aprox. 4 - ½ pint jars

1 C Pomegranate Juice
3 C Pomegranate seeds (about 2 good sized Pomegranates)
2 ½ C Sugar
2 Medium  - Tart Cooking Apples, cored and chopped
2 tsp. crushed dried Santa Fe Chiles

Get your canning pot boiling and put in 4 - ½ pint jars to heat.  Warm lids in a second pot.

In a saucepan heat Pomegranate Juice to boiling.  Reduce heat and simmer 5 minutes or until reduced to ½ C.  Add remaining ingredients and return to a boil.  Reduce heat and boil gently, uncovered, for 25-30 minutes, stirring occasionally, until liquid portion is the consistency of honey.

Remove jars from pot and fill leaving ¼” head space, remove air bubbles, wipe rims, put lids on jars and return to canning pot.  Process for 15 minutes.  Remove and cool.


There you have it…ready for giving…little jars of Pomegranate goodness…


Hopefully some of you have enjoyed a bit of canning for the holidays…May you all be well, safe and enjoying the company of loved ones this holiday season - whatever your are celebrating!  Here’s to 2012 and all the canning opportunities that lay before us!

Monday, December 19, 2011

Gifts Day Two - Meyer Lemon Marmalade


Okay, are you ready for another quick, last minute gift idea?  Meyer Lemon Marmalade.  Oh, I feel the eye rolling, lip curling, snickers out there…marmalade?’ Like I’m going to whip that up while I’m desperately trying to get all the billion other things together for Christmas…really?! ‘  But wait, don’t be so sure of yourself, it really IS quick…I did mine while I was fixing supper…I’m not kidding…

Well , it’s sort of a two day process, but the two pieces are really quick, so that counts as quick…

Meyer Lemon Marmalade
Makes aprox. 6 - ½ pint jars

6 Meyer Lemons (1 ½ LBS)

4 C Water

4 C Sugar

Day One:  Halve lemons crosswise and remove seeds.  Tie seeds in a cheesecloth bag.  Quarter each lemon half and thinly slice.  Combine with bag of seeds and water in a 5 quart stainless steel pot and let mixture stand, covered, at room temperature for 24 hours.

See that’s all there is for the first night!

Day two:  Bring lemon mixture to a boil over moderate heat.  Reduce heat and simmer, uncovered, until reduced to 4 cups, about 45 minutes…(here’s where you start making dinner)

Stir in sugar and boil over moderate heat, stirring occasionally and skimming off any foam, until a teaspoon of mixture dropped on a cold plate gels, about 15-20 minutes.

Ladle hot marmalade into jars, filling to within ¼ “ of the top.  Wipe rims with dampened cloth and seal jars with lids.

Put jars in a water bath canner filled with boiling water and boil jars for 5 minutes.  Remove jars and cool.

There you have it, add a lovely label, and you have six more gifts ready for giving!

Tomorrow…Pepper Pomegranate Jam…

Sunday, December 18, 2011

Last Minute Gift Ideas...Quick from the Kitchen


So here we are at the Christmas count down.  The last week before the big day.  I know, there are those of you who have been organized since Halloween, Christmas gifts wrapped by Thanksgiving, now just sitting back enjoying the decorations, but I am not one of those.  I do moderately well getting things together by the first part of December, but this last week is used for finishing things up, thinking up a few last minute goodies for loved ones.  So for the next couple days I am going to do some little posts, with last minute gift ideas from the kitchen.  They are all fairly quick and will put a smile on even the biggest ‘bah humbug-ger’ on your list.

The first one is Pears with Star Anise.  Pears are abundant at the farmers market or your local supermarket right now and this one will take you only a couple hours to produce.


Canned Pears with Star Anise

5 LBS pears

4 C Syrup - I make a syrup of one part sugar to three parts water

Juice of one lemon

4 Star Anise

Start a boiling water bath for 4 pint jars. 

Dissolve the sugar in water and bring the syrup to a boil

Add the lemon juice.

While you are waiting peel the pears, cut them in half or quarters and remove the core.

Fit as many pears as possible into each jar, along with a Star Anise. 

Cover the pears with the syrup

Run a chop stick along the inside of the jar to remove any air bubbles and add more syrup if necessary

Clean the neck of the jar and secure the lid to the jar

Process the pint jars for 20 minutes in boiling water.

Voila!

Lovely gifts for the hard to satisfy…

These guys are really yummy…

Tomorrow…Meyer Lemon Marmalade.

Monday, November 7, 2011

Fall is Here...and so is Fall Honey!


I have pulled out the spent corn plants, composted the squash vines and canned up the remaining bounty from the summer’s ‘crops’.  The days are getting shorter and the mornings are cold.  Fall is really setting in here in the central valley.  One of our last tasks in preparation for winter is taking care of our bees so that they will be safe through the winter.  This involves inspecting the hives for any pests, making sure they have good honey stores to get them through the cold rainy months when there isn’t any pollen to be had and lastly…harvesting honey!  Yea! 
When we opened the hive boxes we were please to find that our girls had been cranking on the honey production.  In the world of beekeeping the bottom two boxes in a bee hive belong to the bees, a place to lay eggs and store the honey they will need for themselves.  Any boxes that are added on top of that are basically filled with honey we can have.  We only added one box to the stack this year as we got sort of a late start, spring dawdling around on it’s arrival and all, but when we opened  up this top box it was chuck full of wonderful honey.  I am particularly fond of fall honey.  It is much darker than the honey that is produced in the spring and has a much more intense flavor.  I guess the difference between the lovely light spring flowers and the hearty summer fruits and vegetables causes this difference. 
The process of harvesting honey is simply to remove the box, remove the frames from inside, open the cells in the honey comb to expose the ‘golden nectar’ and then place the frames in a spinner that spins the honey out of the comb.  I am happy to say that this year, being the experience beekeepers we are (hahahahaha) we have gotten pretty efficient at the honey extraction process and better yet the entire house wasn’t sticky as it had been in the past!  We harvested about 30 LBS. of honey that we can now put in jars to enjoy and share with friends until spring rolls around and the cycle begins again.  In the mean time the bees will have to live off their honey stores, not having much pollen to harvest through the  winter months, and stay safe and dry in their hive

Monday, September 26, 2011

Tomatoes for All My Friends


As I mentioned in my last post, tomato season is at full tilt, but summer is starting  to fade into fall and those of us thinking we had all the time in the world to preserve summer’s bounty of tomatoes have suddenly come to the realization that we’d better get on it or lose our opportunity… so my tomato canning buddy and I purchased amazing  tomatoes from Soil Born Farms and did our cursory 80lbs
of canned tomatoes last Friday, netting us each about 14 quart jars of lovely fruit to enjoy all winter in hearty soups, stews and all things tomato, and next Friday we are hoping to whip up marinara sauce and tomato jam, so that we won’t be caught without.  But I personally decided that I wanted to try something new this year, so I ordered a 22 lb. box of the most beautiful Roma tomatoes from Full Belly Farm, the folks we get our CSA boxes from, and set about producing some tomato paste.  For some reason I seem to use a lot of tomato paste and the ‘good stuff’ can get spendy, so I thought I’d give it a whirl.  I looked up the recipe in the Ball Complete Book of Home Preserving.  It’s a pretty straight forward recipe, basically cutting up the tomatoes, dumping them in a pot and cooking them down to…paste.  They added some red bell peppers and garlic which I eliminated as I wanted just a straight tomato flavor, but otherwise I did what they said.   It explained that the ‘cook down’
portion would take about 2 ½ hours to reach ‘mound on a spoon’ consistency.  Well I am here to tell you that either those food scientists at Ball know something I don’t - which is all together possible - or they are on some sort of medication that makes time move really fast, because after 2 ½ hours my tomatoes no more looked like paste than I do.  So after 6 ½ hours, yes you read that right, I had a product that would ‘mound’ in my spoon and resembled something I would describe as paste.  All in all I would probably do this again and I would still describe the process as simple, it’s just not something to be done in an afternoon…lesson learned. 

Tomato Paste

Adapted from the Ball Complete Book of Home Preserving

22LBS   Roma Tomatoes

4           Bay Leaves

2 tsp    Salt

Bottled Lemon Juice

1.        Wash and sort tomatoes.  Quarter 6 tomatoes and transfer to a large stainless steel pot and bring to a boil over medium-high heat.  Using a potato masher, crush tomatoes to release juices.  While maintaining a boil and stirring to prevent burning, quarter additional tomatoes, adding them to thepot as you work.  Make sure the mixture continues to boil vigorously while you add, stir and crush the remaining tomatoes.  When all the tomatoes have been added, reduce heat and boil gently, stirring occasionally, until tomatoes are very soft, about 1 hour.
2.       Working in batches, press mixture through a fine sieve, or food mill to remove skins and seeds.  Discard skins and seeds.
3.       Return mixture to pot.  Add bay leaves and salt.  Return to boil over medium heat. Reduce heat and boil gently, stirring frequently, until mixture is thick enough to mound on a spoon - about 6 ½ hours.  Discard bay leaves.
4.       Meanwhile, prepare canner, jars and lids.
5.       Before filling each jar with tomato paste, add 1 ½ tsp lemon juice to the hot jar.  Ladle hot paste into prepared jars, leaving ½ inch headspace.  Remove air bubbles and adjust headspace if necessary by adding hot paste.  Wipe rim, center lid on jar.  Screw band down until tight.
6.       Place jars in canner, bring to a boil and process for 45 minutes.  Remove jars, cool and store.


Aside from the time issue, I did end up with 13 - ½ pint jars of tomato paste which made me pretty happy and next time I will know to set aside a day, not just a couple hours…  


Monday, August 29, 2011

Tomato Season in Full Swing!


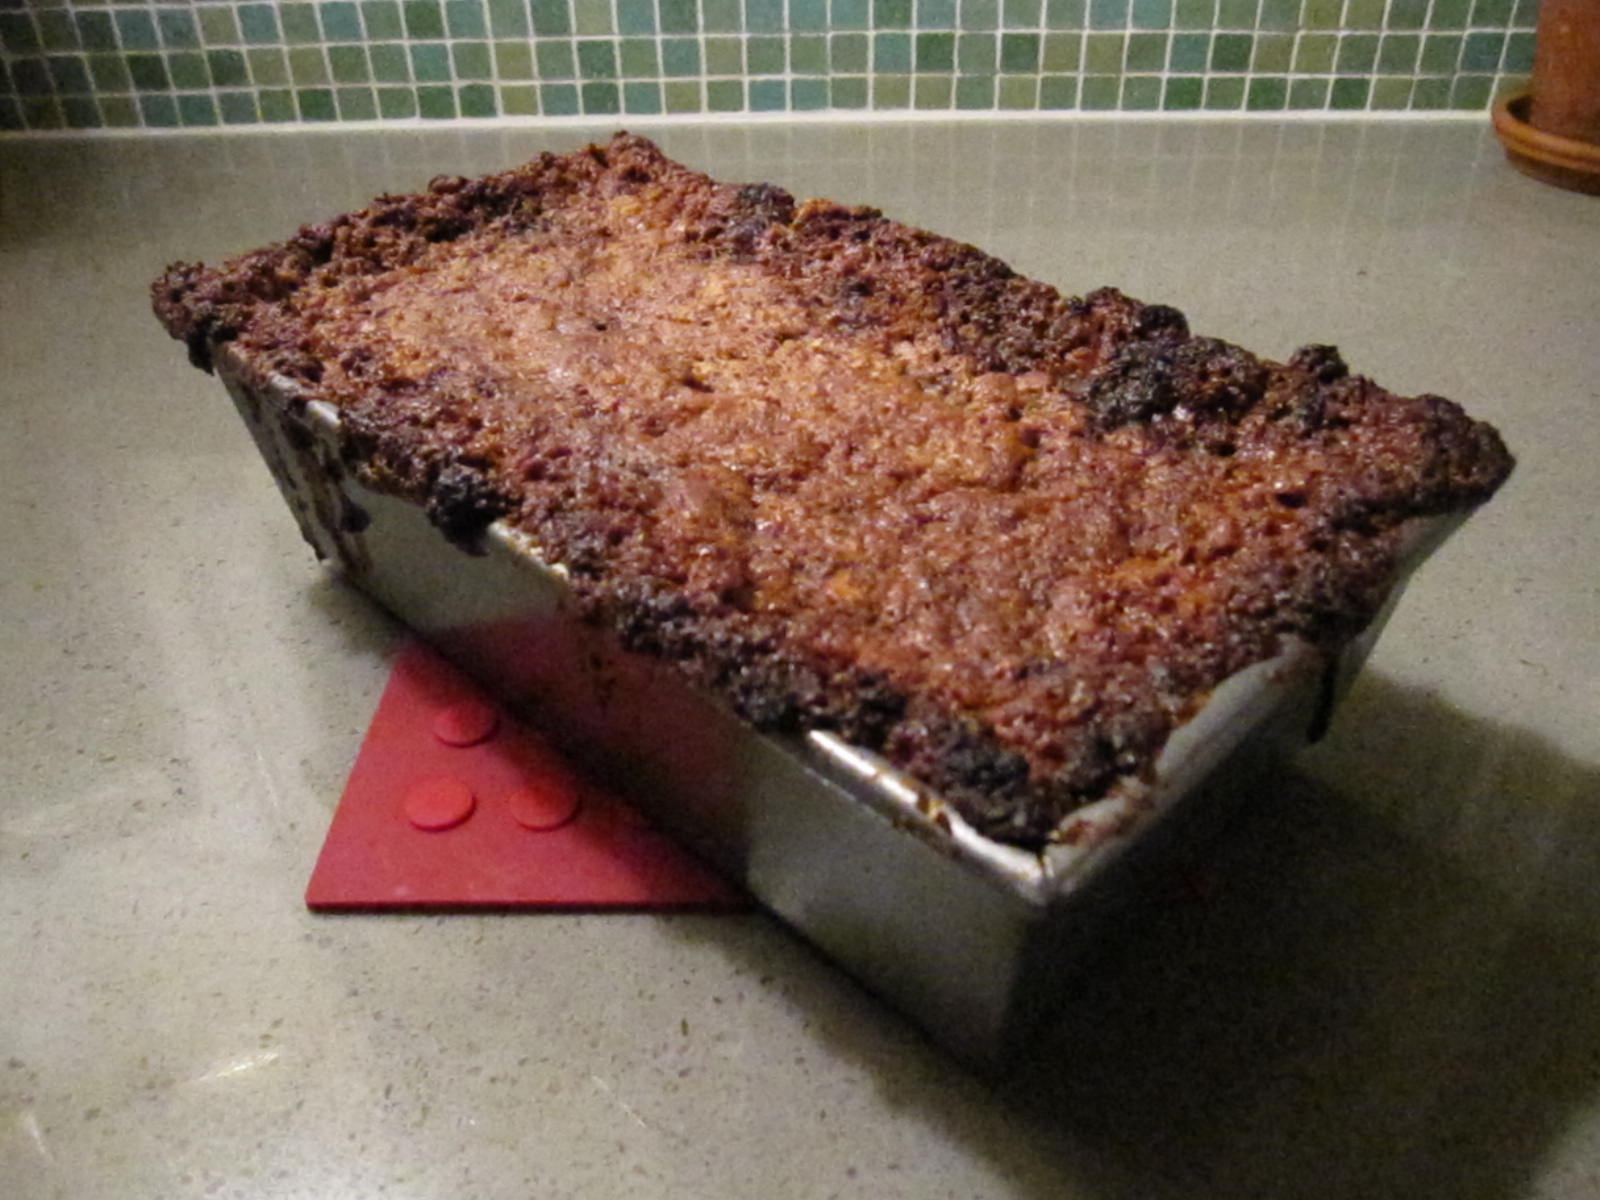
As the season heats up and tomatoes start ripening as fast as you can say ‘ripe tomato’  those of us who planted lots of now healthy overproducing  tomato plants realize we need to get creative about how to use all that luscious fruit!  Of course we can simply can them, a good solution, or we can make salsas, pizza and marinara sauce or tomato jam, but then we start looking for other ideas…casseroles with tomatoes and eggplant, or lovely stuffed tomatoes that can create a meal in themselves.  Well, yesterday, as I tried to jazz up what I was going to fix for dinner, I discovered a lovely recipe for a tomato galette.   The basic recipe was in the book Chez Pannisse -  Vegetables, by Alice Waters.  Since I was doing a sort of spur of the moment dish, I made a substitution for the type of cheese and the color of the onions, and the result was delicious!

Tomato Cheese Galette

Ingredients:                                                                                              

                ½ recipe Galette Dough - see below

                3 large, ripe tomatoes

                2 medium red onions

                1 bunch basil

                8 oz mixed parmesan and mozzarella cheese

                Extra virgin olive oil

                Salt and pepper

Galette dough:                                                                              

                2 cups flour

½ tsp salt

¼ tsp sugar

6 oz unsalted butter

1/3 C ice water

First make the galette dough…

Combine the flour, salt and sugar (the sugar helps the pastry brown).  The butter should be cool - not cold and hard, but not too soft, wither.  Cut half the butter in to the flour mixture and work it in until the dough is roughly the texture of cornmeal - I did this using my hands as I seem to have better luck this way than using a fork -

Add the other half of the butter in marble-sized chunks.  Work it into the dough very briefly, leaving the butter in unevenly incorporated bits.

Lightly fork in the ice water just until evenly moistened.

Divide and gather the dough into two balls, cover separately with plastic wrap and knead very lightly through the plastic wrap, forming the dough into two even disks.  I always go ahead and make a full recipe and put the second disk in the freezer - nice to have that waiting for you when the galette bug next hits!

Refrigerate the dough and let it rest at least 1 hour.

Tomato galette:

Roll out the pastry dough to a circle about 12 inches in diameter.  Place it on a baking sheet without sides, lined with parchment paper, set aside. 

Cut out the stem end of the tomatoes and slice them 1/8 inch thick. Set aside on a towel to drain.

Peel and slice thin the onions and sauté them in olive oil until softened.  Season with salt and pepper and a handful of the basil leaves, chopped.  Let cool completely.
                                                                                        
Preheat oven to 375 degrees                                                       

Take the circle of dough and sprinkle with half the cheese, grated.  Spread the cooled onions over the cheese, leaving a 1-inch border around the edge.

Put a layer of whole basil leaves on top of the onions

Arrange the tomato slices, slightly overlapping, on top.

Season with salt and pepper

Sprinkle over the rest of the cheese and drizzle generously with olive oil.

Working around the circle of dough, fold the edge of the dough up and over to make a shell around the filling.

Bake for 50 minutes to an hour on the bottom rack of the oven, until the bottom of the crust is well browned.

Take the tart out of the oven and immediately slide it off the baking sheet and parchment paper and onto a cooling rack - leaving it on the pan will cause the crust to ‘steam’ and get too soft.

Garnish with the rest of the basil leaves and drizzle with ore olive oil.  Slice and serve immediately as a first course or as we did as a side with chicken or fish and a light salad.

Very summery faire and yet another way to take care of some of those wonderful tomatoes!


Saturday, August 6, 2011

It's Just A Little Thing...


You might think the above photo of some once lovely stone fruit is looking a little like one might feel after a rousing night out with friends…just a little beat…and that what might be coming is a cautionary tale of produce gone wrong…but fear not friends…

At my last trip to the farmer’s market, last Sunday to be exact, the luscious piles of peaches, nectarines, plums and pluots cast their spell.  I was helpless, buying up bags of the juicy delights with no regard to our upcoming week’s schedules and how many meals and snacks would be eaten at home.  I arrived home with piles of fruit.  Now mind you we have given it the old college try, eating fruit with every meal, but I confess I went a little crazy…and there was just no way…
Now I want to say one word to you, one word, are you listening, plastics…no small batch canning (well actually three, but I couldn’t resist the reference).  Small batch canning is just what it sounds like, rather than make a giant production out of putting up pounds and pounds of your favorite produce, it involves small amounts and little time.  Whether it’s fruit from an overzealous trip to the farmer’s market that is about to go around the bend, that one extra tomato plant you put in at the last minute that has decided to commit suicide through over production, the need to have one or two jars of extra lemon curd in the cupboard just in case you have a need, or you simply don’t have the room for many jars of a single food item when there are so many other things to can, putting up small amounts of food at a time is the perfect solution.  Most preserving recipes are easy to revise to make smaller and there are even cookbooks dedicated to the subject.  The other plus is that this job can easily be taken on in an evening without the fear of staying up until midnight!
So back to my stone fruit…having put a good dent into our bounty through diligent consumption and some fruit still hanging in there, I had about 3 cups worth of mixed fruit that needed immediate attention.  I remembered seeing a recipe on one of the other food blogs that I particularly like, FoodinJars.com, for a mixed stone fruit jam.   I tracked it down and it was just what I needed…

Mixed Stone Fruit Jam

Adapted from ‘Food in Jars’

Recipe for aprox. 3 – ½ pint jars


Ingredients
Mixed Stone Fruit ( Peaches, Apricots, Plums, etc.) to make 3 C chopped fruit
 2 C.  Sugar
Juice & Zest of 1 Lemon

       1.            Set up 2 pots for boiling water
  A.       Processing pot
  B.      Lid pot
       2.            Wash jars
       3.            Get out tools
 A.      Potato masher
 B.      Jar lifter
 C.      Tongs
 D.      Wide mouth funnel
 E.       Towels
             F.       Chop stick
 G.      Ladle or big spoon
       4.            Put lids in small pot to heat
       5.            Put jars in canning pot
       6.            Peel Peaches and chop along with other stone fruit (Note:  if you drop the peaches into a       pot of boiling water for 30-60 seconds, then dunk into ice water, the peals will come right off)
       7.            Place all fruit in large bowl and add sugar, let mixture sit for minimum of one hour or as long as overnight
       8.            Heat mixture to 220D.
       9.            When mixture reaches desired temperature add lemon zest and juice
   10.            The jam is ready when a spoonful, dropped onto a plate firms up when cool.
   11.            Remove glass jars from pot
   12.            Fill jars with hot jam,   leaving ¼” head space
   13.            Remove air bubbles
   14.            Wipe edge of can with clean damp towel
   15.            With tongs put 1 lid on jar and finger tighten ring on jar
   16.            Put jars into canning pot
   17.            When water is boiling again, process ½ pint jars for 10     minutes
   18.            Remove from pot, cool
I cut the fruit, added the sugar and put the bowl in the refrigerator while we enjoyed dinner, and the air temperature dropped below 85, and after the dishes were all done, I cooked up the fruit, threw it in my jars, processed them and was in bed by 11:00, not bad, and there’s some yummy fresh jam waiting for us in the morning!

As an aside, any of you in the Sacramento area, I will be giving a small batch canning class at the Sacramento Natural Foods Coop on August  13th from 10 - 12:30.  So come and join in…it would be lovely to see you!


Wednesday, July 20, 2011

Zucchini and the Toy Farm...


The ‘toy farm’ as it is now affectionately known, is kicking into high gear…we are finally getting some warmer summer days, although for Sacramento it is still pretty mild, only hitting high 80’s or low 90’s.  From a human’s perspective this makes for a wonderful summer season, if you are a tomato or an eggplant, not so much.  The land of HOT weather fruits and vegetables is off to a very slow start.  And believe me you can hear the whining from the farmers, to the backyard gardeners, to the chefs in the kitchens… ‘I can’t believe the heirloom tomatoes are just getting ripe and has anyone seen any eggplant?’ or ‘I have tons of fruit on my plants but it’s still all green!’  But despite all the complaints

there are vegetables making their presence known.  There are beets galore, zucchini by the boat load, a good assortment of crookneck squash, and string beans a plenty.  Actually we have had some form of zucchini for dinner for four nights in a row.  It is now a game to see if we can create a dish that is enough different from the one last night that we can pass it by our taste buds without them producing a giant groan…there has been classic grilled zucchini - as a side dish; zucchini casserole - a lasagna sort of affair layering zucchini, some left over bruschetta , mozzarella and onions; pizza - which consisted of pizza sauce, mozzarella, zucchini layered on like pepperoni, mushrooms and a little bit of my pancetta and then last night my niece found a recipe in the new Nigel Slater cookbook, Tender ,which was over the top!  She fixed the whole thing and served it with quinoa, which was absolutely perfect.  This one could be a repeater and we all agreed that our taste buds would not have complained in the least! 

A Supper of Zucchini, Tomatoes and Basil

From the book Tender by Nigel Slater

Enough for 4 as a side dish, 2 as a main dish

5 Medium Zucchini            

3 TBS Olive Oil

4 Medium to Large Tomatoes

A handful of Basil, torn

Lemon

Cut the zucchini into thick fingers.  They work best about the size of thick, homemade French fries.  Warm the oil in a deep pan and let the zucchini cook over medium heat for six to eight minutes or so, ‘til they start to soften.

Chop the tomatoes roughly and add to the zucchini with the torn-up basil leaves, salt, pepper, and a good squeeze of lemon.  Stir, cover with a loose fitting lid, and let simmer for ten to twelve minutes, until the zucchini are totally tender and the tomatoes have cooked down to a basil-scented saucy slush.  The colors should be bright, the zucchini softly yielding but not browned.  Sponge up the sunny-tasting juices with bread.

I love the way he writes…even if you don’t cook his descriptions are wonderful.  But this is such a simple one that even the non-cooks among us could muster this one up!


Tomorrow we are going to try cold zucchini soup…I’ll let you know how it goes…


Wednesday, June 29, 2011

So You Have a Couple Gallons of Kefir...?

Kefir – A beverage of fermented cow’s milk: Merriam Webster…in an effort to improve my family’s digestive health – to put it delicately – I decided that a bit of kefir every day would be a good thing. Also, in my effort to keep our food simple, no added ingredients that often come in the store bought versions whether you want them or not, I purchased some kefir grains, the bacteria that turns fresh milk to kefir, so that I could make kefir at home. Well, it’s sort of like starting sourdough starter…they come in a dehydrated form, that has to be rehydrated before they will be useful. This requires adding milk, letting it sit for 24 hours, draining it off, adding milk, draining, milk, draining, doing this for several days and then making kefir continuously for several more days…okay, so I like kefir as much as the next guy, but making a quart per day I started to feel a bit like Lucy and Ethel in the candy factory. And our refrigerator was fast filling up! Thus began the search of what to do with it all so as not to waste all that milk. Kefir cheese was good option, easy to make and resembled simple cream cheese, that worked. But the suggestion for kefir radish soup? I wasn’t even going there. Then I found a recipe for kefir banana bread, a straight forward recipe that sounded pretty tasty and as you all know I am quite a banana bread fan... I decided to give it a whirl…


Kefir Banana Bread

From Cultures for Health


1 1/3 C Raw Sugar

½ C Butter (the recipe calls for softened, but I melted it for easier mixing)

2 Eggs

½ C Kefir

1 ¼ C Bananas, mashed

1 tsp Vanilla

1 tsp Baking Soda

1 tsp Baking Powder

1 C Flour

¾ C Nuts, optional (I used walnuts) chopped


12-24 hours prior to making the bread, mix the flour and kefir together. Cover and allow the flour to soak.


Heat oven to 300D.
In a large bowl, mix together the sugar, butter, vanilla, eggs, bananas and nuts

Add the kefir and flour mixture and mix just until blended

Add the baking soda and baking powder and mix just until blended

Pour into a greased bread pan (9”x5”)

Bake for approximately 1 ½ hours until an inserted toothpick comes out clean (exact time will vary depending on size of pan)

I followed the directions and cooked until my tooth pick came out clean. The crust on the loaf looked a bit like molten lava that had recently cooled, and then the center sort of sunk, okay so we are not going to have the most lovely loaf I’ve ever baked, but I can live with that…but then after it cooled I cut into the loaf and discovered something that resembled bread pudding more than a loaf of bread! But I had to taste it…WELL, this is some of the most amazing banana bread I have ever tasted! It was clearly cooked all the way through and with the sticky, crispy crust it was over the top. My husband and I did that – every time you pass through the kitchen you cut off a little piece – thing, until we had eaten about half the loaf – we skipped dinner that evening – but the next night I served the bread with a little whipped cream for desert…heaven…

I have made the recipe twice since then and it has come out the same each time…too yummy!


Wednesday, May 25, 2011

Bring'n Home the Bacon...

I don’t think I mentioned that I was taking an online class all about fermenting.  It has covered fermenting of all sorts, dairy, vegetables, tonics, fruits, condiments, relishes, brine pickles and curing meats as well.  The whole process of preserving food through means other than canning or freezing is fascinating to me.  This is the process our ancestors figured out to keep food edible without killing their friends and families, not to mention themselves, sans the luxury of a refrigerator…I realize there was a pretty big incentive there but it was still pretty ingenious!  And then there is the part about the beneficial bacteria that is formed during fermentation that aids us with digestion and may help our immune systems.
So I have been fermenting all sorts of things, mostly dairy, in the form of yogurt and kefir.  I did make some mead with our honey, and I’m going to start some sourdough soon.  The next thing on my list was to cure some meat…and since we have a wonderful vender at our farmers market who is a pig farmer and raises his hogs on lovely food and in a nice environment, and I have talked with him and know how his pigs are taken care of I thought that curing some bacon would be a good first step.
 I figured what could be better than some good bacon.  I mean I have a friend who claims it’s the 4th food group!  And without all the added nitrates and nitrites found in commercial bacon, well it’s practically health food!  I purchased a 2LB. piece of pork belly, the thought being that for a fairly small investment I could give it a whirl and see what I came up with…if the whole thing went bust I wouldn’t be out much…

The process is really quite simple as the main ingredient is time…

Home Cured Bacon

2LB Slab Pork Belly

2TBS Coarse Unrefined Sea Salt

2TBS Unrefined Cane Sugar, Honey, or Maple Syrup - I opted for Honey since my gals had given me a  nice supply last year and I thought it would give it that extra home made touch

3TBS Spices of Choice (Pepper, Pickling Spice, Fennel, Nutmeg, Etc.) - Thinking about flavors, I decided to go with Fennel and Black Pepper, I thought that would work well with the Honey…

 First mix the salt, sugar of choice and spices together and rub them thoroughly into the slab of pork belly.

Then tightly wrap the pork belly in 100% cotton cheesecloth and place it in a resealable plastic bag.

Place the bag into the refrigerator.  Now for the next 7 - 10 days you will need to turn the pork belly daily.  This causes the pork to cure evenly.

I waited 10 days…tap…tap..tap…

Remove the bacon from the refrigerator, unwrap it and rinse off any excess spice and pat dry.

Preheat the oven to 200D.

Place the bacon on a baking sheet and bake for 2 hours or until the internal temperature registers 150D… using my trusty meat thermometer my bacon reached the desired temp. in about 1 hour and 40 minutes.

Allow the bacon to cool to room temperature, then slice thinly.

Wrap the sliced bacon and refrigerate where it will keep for about 2 weeks or freeze where it will keep for around 6 months.
Well, having already waited 10 days, as soon as the bacon was cool and sliced I cooked up a couple pieces so that my husband and I could see what had been created…OMG!  This is bacon, the likes of which I have never had!  Now I like bacon as much as the next guy, but this stuff is off the hook!  I do need to figure out a way to slice it really thin, as my slices - try as I might - were a little thicker than I would like, but as far as flavor…guess I won’t be buy’n bacon any more!